
You’ve either considered or decided to eliminate your rear air suspension and convert your 2002 to 2009 GMC Envoy to a conventional coil spring suspension. This week’s blog will discuss how to remove your rear air springs and safely install those new coil springs.
Read all instructions carefully before starting any conversion.
Time required for installation: 2-3 hours
Tools you will need:
- • Needle Nose Pliers
- • Floor Jack
- • Jack Stands
- • 35mm, 13mm, and 15mm Size Sockets and Ratchet Set
- • Eye Protection
1) Begin by opening the hood and remove the fuse box cover located on the driver’s side, near the firewall. Use those pliers to remove the number one fuse, labeled ECAS, 30 amp. This will disable the air suspension and keep the calibration of the suspension sensors so you don’t have to have the entire suspension system recalibrated.
2) With the floor jack, raise each corner of the vehicle and support it with the jack stands.
3) Remove both rear tires with the 35mm socket.
4) With eye protection worn, depressurize the air suspension in the safest way possible. We recommend turning the air compressor dryer a quarter of a turn until you hear air escaping, or removing the air line from the air compressor pump. In some instances, this may not be viable, and disconnecting the air line at a junction or cutting it at a tie down point would be more effective. We stress to perform this operation very carefully, as a pressurized line can cause personal injury or damage the vehicle.
5) Located on the top mounting plate of each air spring is an anti-rotation peg. Press this peg down and rotate the air spring clockwise to remove it from the upper spring seat.
6) Remove the air line from the top of the air spring, by pushing the line down into the spring while pressing down on the air supply line collet. The collet is a small steel fitting just below the air supply line, and holds the line in place during vehicle movement.
With your rear air springs removed, you can now begin installing the new coil spring conversion kit.
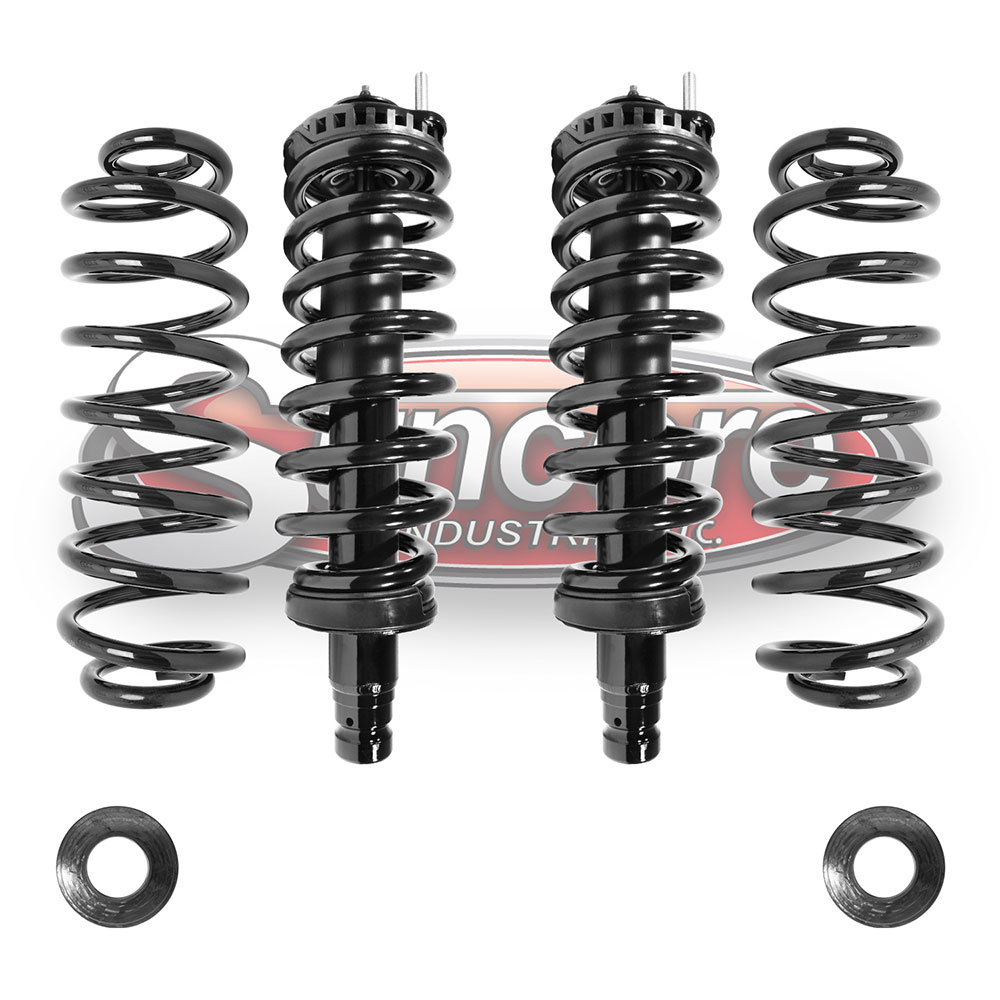
7) If you are not replacing the rear shock absorbers, remove the shock absorber lower bolts to drop the rear axle a few inches. If you are replacing the rear shocks, completely remove the rear shock absorbers and install the new shocks only at the top mounts for the moment.
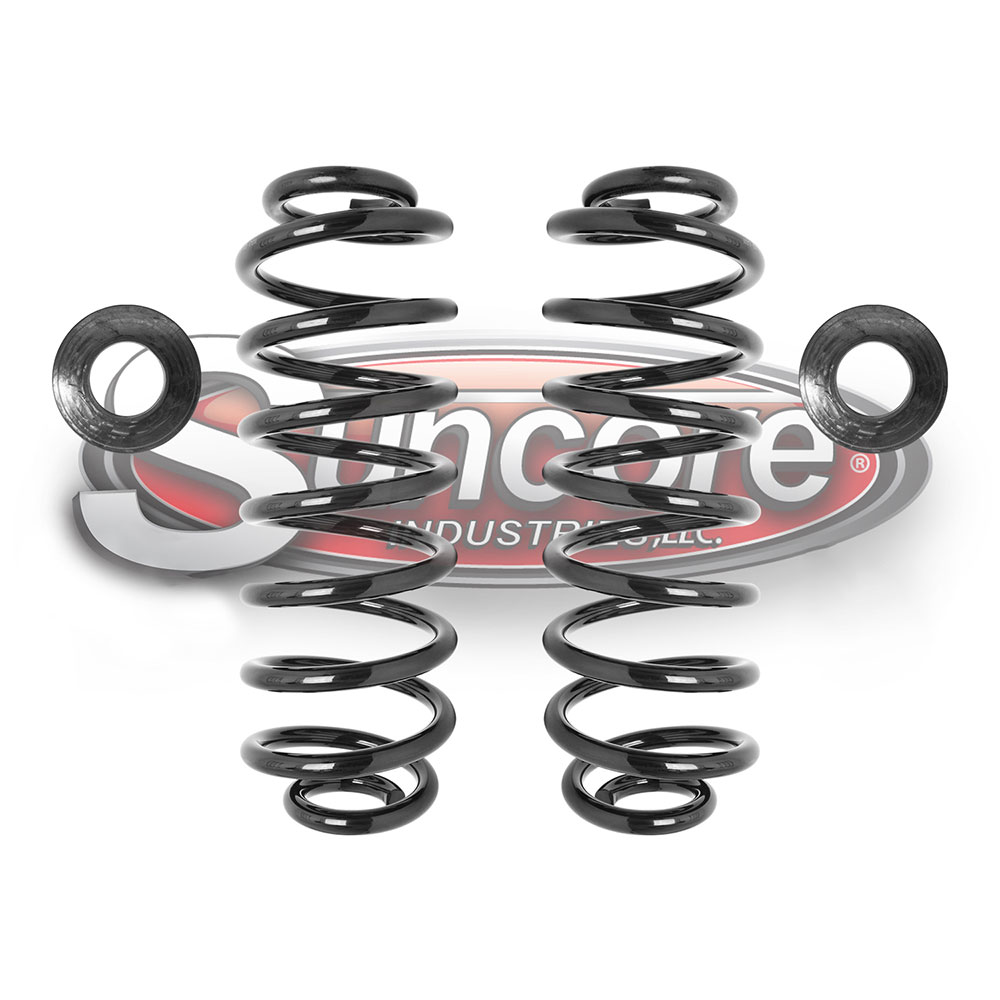
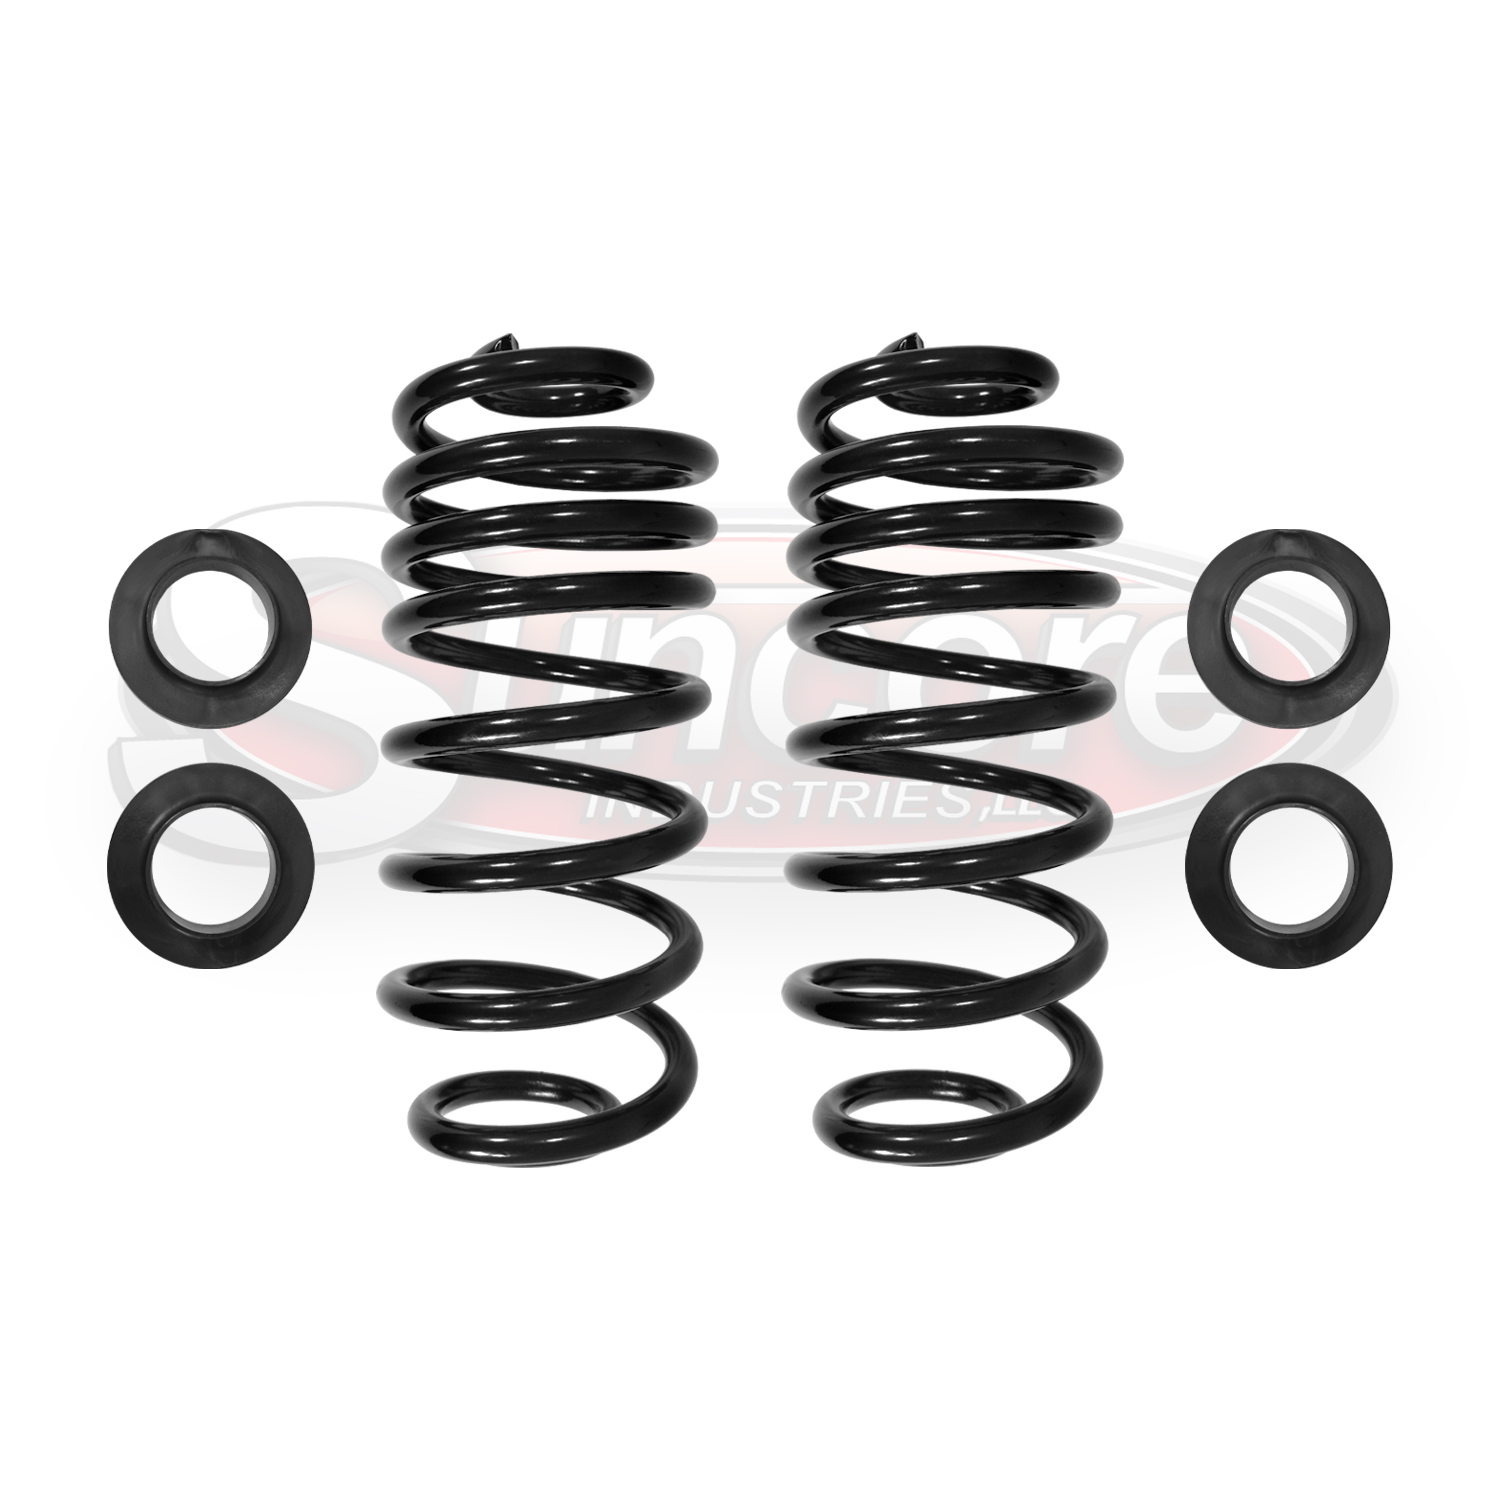
8) Install the rear coil springs onto the rear axle with the supplied insulators at the top and bottom of the coil spring. In all applications, the tighter end of the coils must be installed up.
9) With the floor jack, raise the rear axle to install the lower shock absorber mounting bolts. Tighten the retaining nut and bolt to 90 N-m, or 70lb-ft.
10) Remove the rear axle support and replace the rear tires. Tighten the wheel hub bolts to 115 to 142 N-M, or 85 to 105 ft. lbs.
11) Remove the air suspension compressor pump with the 13mm socket, disconnecting all electrical and air connections to disarm the air suspension.
12) Re-install the ECAS fuse.
Congratulations, you have just replaced your costly air ride suspension with a passive, coil spring suspension!